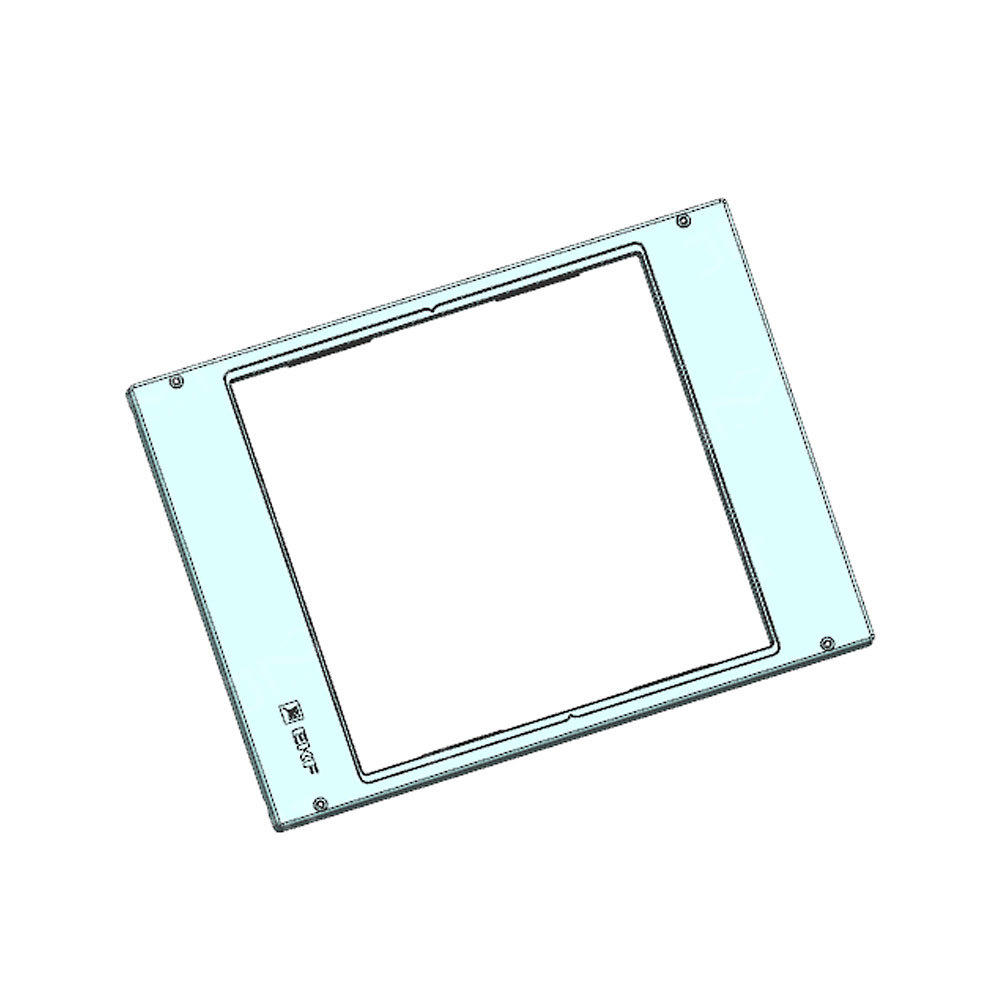
Step 1: Designing the mold
The first step in making a plastic electric meter box frame mold is designing the mold. This involves creating a 3D model of the frame using computer-aided design (CAD) software. The design must take into account the desired shape and size of the frame, as well as any specific requirements for the electric meter and the location where the frame will be installed.
Step 2: Choosing the material
The next step is choosing the material for the mold. The most common materials used for injection molding are steel and aluminum. Steel is the most durable and can withstand high temperatures and pressures, but it is also the most expensive. Aluminum is less expensive but not as durable as steel. Other factors that may affect the choice of material include the size and complexity of the mold and the number of parts to be produced.
Step 3: Creating the mold
Once the mold design and material have been chosen, the mold can be created. This involves cutting and shaping the material using precision tools such as CNC machines, lathes, and grinders. The mold is then polished to ensure a smooth surface finish. The final step is to add any necessary details or features, such as text, logos, or symbols.
Step 4: Injection molding
The next step is injection molding. This involves melting plastic pellets and injecting the molten plastic into the mold under high pressure. The plastic fills the mold and takes on the shape of the frame. The mold is then cooled, and the plastic hardens and solidifies. The finished frame is removed from the mold, and any excess plastic is trimmed off.
Step 5: Finishing and assembly
The final step is finishing and assembly. The frame is inspected for any defects or imperfections and then finished with any necessary coatings or treatments. The electric meter is installed in the frame, and the frame is then installed in its final location.


 English
 Español
 عربى
عربى


